Wool & Barb earns a commission from qualifying purchases made through our links, at no extra cost to you. How Wool & Barb is reader-funded
Needle felting is one of the most accessible textile crafts because it requires no weaving, spinning, or stitching. Instead, it relies on a simple mechanical principle: repeatedly poking loose wool fibers with a notched, barbed needle until the natural scales on the fibers catch, tangle, and compress into dense, solid felt.
According to The Felt Box Beginner's Guide, you only need three core elements to start: wool, felting needles, and a protective working surface. However, deciding how to begin often comes down to choosing between an open-ended multi-color supply kit or a self-contained, guided project set.
The Essential Needle Felting Toolkit
Before choosing a kit, it helps to understand what the individual tools do and why specific specifications matter during your first few projects:
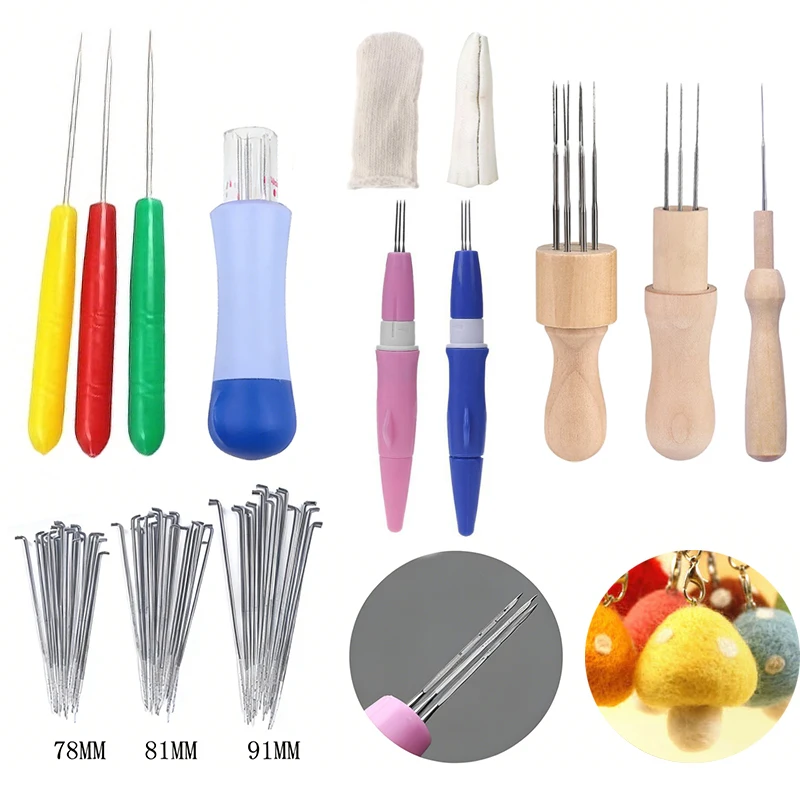
- Graded Barbed Needles: Felting needles are categorized by gauge. Coarser needles (such as #36 gauge) feature deeper barbs to pull bulk fiber together quickly during initial rough shaping. Medium needles (#38 gauge) serve as versatile all-rounders, while fine needles (#40 or #42 gauge) smooth the exterior surface and attach delicate details without leaving visible puncture holes.
- Felting Wool: Carded wool batts and roving are standard. Carded batts have fibers running in varied directions, making them tangle rapidly for quick 3D shaping. For larger pieces, crafters often use plain, coarse core wool inside to build bulk affordably before applying vibrant colored wool on top.
- Dense Work Mat: A thick foam block or dense wool pad provides essential resistance, protects your table, and cushions the needle stroke so the tip does not strike hard surfaces.
Choosing Your Starting Approach
Beginner kits generally fall into three formats: large multi-color bundles for open-ended crafting, guided 2D picture frames, or single-character 3D sculpture kits.
1. The All-in-One Multi-Color Supply Kit
If you prefer open experimentation, making small keychains, or testing custom shapes without following a rigid pattern, a tiered supply kit is the most versatile starting point. These packs include a broad color palette alongside essential accessories like scissors, awls, and multiple needle gauges.
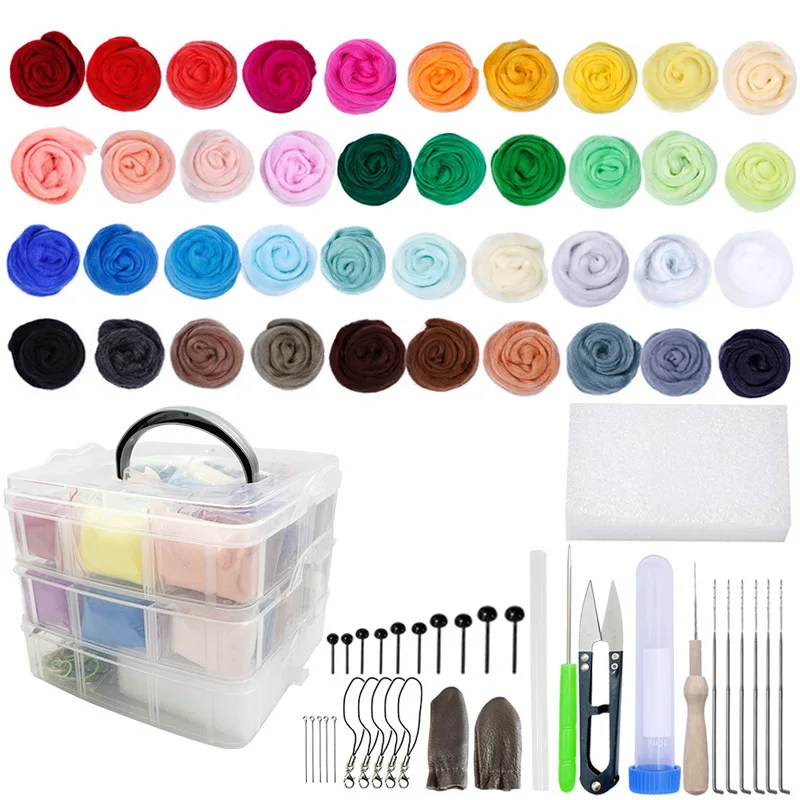
Who it suits: Crafters who want maximum creative freedom, an array of color choices for multiple miniature builds, and dedicated storage compartments to keep fibers organized.
2. 2D "Wool Painting" Starter Sets
If sculpting freehand 3D shapes feels intimidating, flat or relief needle felting is an ideal alternative. These sets use an embroidery hoop and backing fabric as a canvas. You layer and tack colored wool fibers directly into the backing to create framed animal portraits and landscapes, similar to painting with texture.
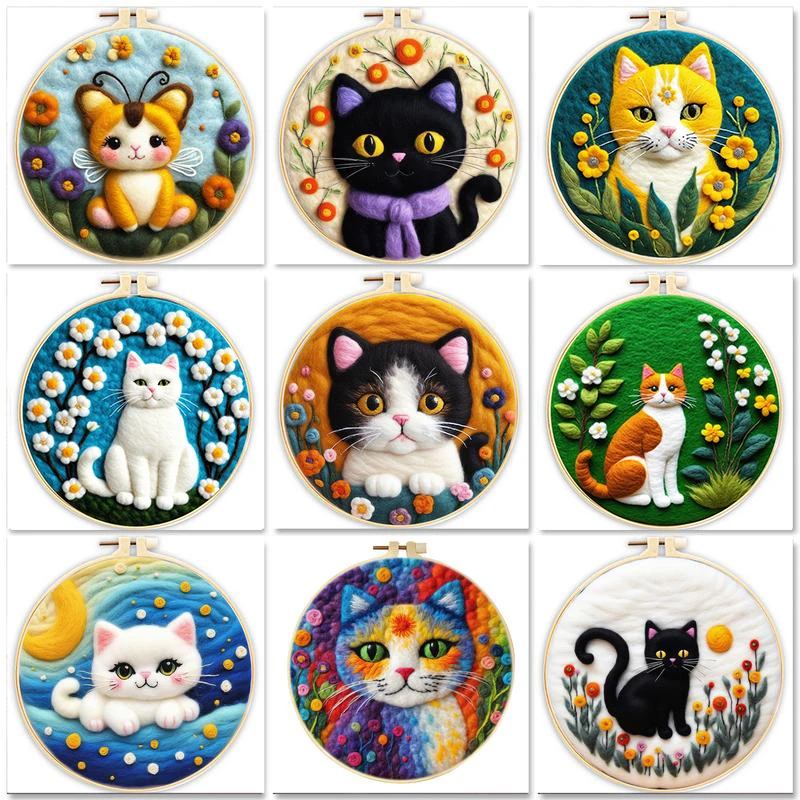
Who it suits: Beginners transitioning from embroidery, illustration, or cross-stitch who prefer structured guidelines and a ready-to-hang finished display piece.
3. Guided 3D Animal Project Kits
For crafters whose primary goal is building tabletop figurines or small plush sculptures, a single-project animal kit supplies exact wool portions, predetermined color ratios, and specific shaping instructions.
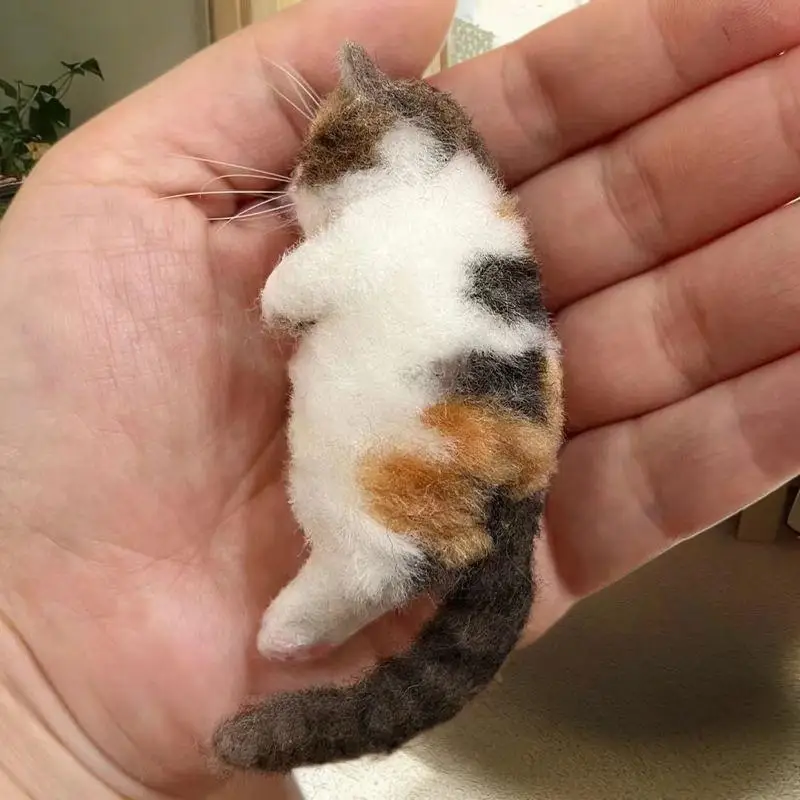
Who it suits: Learners who thrive on clear step-by-step instructions and want to master fundamental 3D forms (spheres, cones, limbs, and surface smoothing) before investing in bulk supplies.
Tool Upgrades: Ergonomics and Speed
Holding a bare steel needle for extended sessions can lead to hand fatigue. Multi-needle tools and contoured wooden handles speed up the felting process by covering more surface area per poke and offering a more comfortable grip.
Step-by-Step: Your First Needle Felting Session
- Roll the Core: Take a small pinch of wool fiber, roll it tightly between your palms into a cylinder or ball, and place it directly onto your foam pad.
- Establish the Base Shape: Using a coarse (#36) or medium (#38) needle, poke the wool repeatedly, turning the shape continuously so all sides compress evenly. Stop when the core feels springy but holds its shape.
- Firm the Structure: Continue felting until the piece resists light squeezing. If your shape is squishy inside, it will lose definition over time.
- Add Color and Surface Detailing: Lay thin wisps of colored wool over your core base and lightly tack them down using a fine (#40) needle to blend edges and eliminate visible needle marks.